Upgrading Your HVAC System? Learn What to Expect With Our Step-by-Step Breakdown
As a homeowner, you’re regularly put in situations where you ask yourself, “Should I fix this? Or should I spend a little more and replace it?”
Your carpet, appliances, and roof all have a shelf life. When these things become an eyesore or a financial burden to maintain, sometimes it’s best to start fresh with an upgrade.
Your HVAC system is no different. As these systems age, they require more frequent repairs and steadily lose performance capability. Old HVAC units must work harder to maintain desired temperatures, which results in higher energy bills.
Investing in a new HVAC installation provides reliable comfort, improves indoor air quality, and helps keep monthly expenses under control. It’s also one of the few home upgrades that boosts the property value of your home.
So, how does the HVAC installation process typically play out? Keep reading for a step-by-step breakdown.
Step 1: Schedule a Consultation to Determine Your HVAC Needs
The first step in any HVAC installation project is to schedule a consultation with a licensed professional. During this initial visit, the technician will speak with you about your comfort needs, budget, and expectations for the new system. They may ask about issues you’ve experienced with your current HVAC unit, whether it’s uneven heating and cooling, rising energy costs, or loud operation.
This conversation helps the tech understand what kind of HVAC system might be right for your home, whether it’s a traditional split system, a heat pump, or a ductless mini-split. They’ll also explain efficiency ratings, equipment brands, and available upgrades such as smart thermostats or air purifiers.
Step 2: Professional Assessment of Your Home
After the initial consultation, the HVAC technician will perform a more detailed assessment of your home. This includes taking measurements of your square footage, evaluating insulation levels, and reviewing your current ductwork setup.
A critical part of this step is a load calculation, which determines how much heating and cooling your home actually needs. This ensures that your new HVAC unit isn’t too big or too small, both of which can cause comfort problems and reduce system efficiency.
By carefully evaluating your home’s layout and energy needs, the technician can recommend the size and type of HVAC system that will deliver the best performance and efficiency.
Step 3: Updating or Installing Ductwork
If your home already has ductwork, the technician will inspect it for leaks, damage, and design flaws. Ductwork that’s too small, too large, or poorly sealed can reduce the efficiency of your HVAC system and make it harder to maintain consistent temperatures.
In many cases, repairs or updates to existing ducts are required to support the new equipment. If your home doesn’t have ductwork, such as in older homes or additions, the contractor may design and install a brand-new duct system or recommend a ductless option as an alternative.
Properly installed and sealed ductwork is essential to getting the most out of your new HVAC unit. This step ensures that air is evenly distributed throughout your home without unnecessary energy loss.
Step 4: Installing the Air Conditioner and Furnace Units
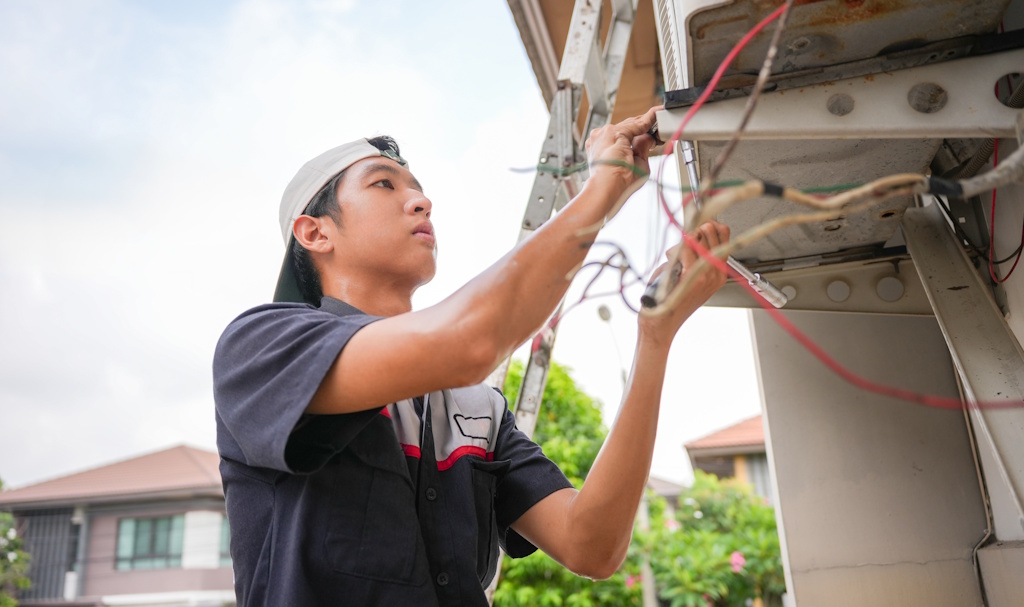
After the ductwork is in place or updated, it’s time to install the new heating and cooling systems. The technician will position and install the equipment according to the manufacturer’s guidelines and local building codes.
This part of the process may take a while, as your technician must confirm that the electrical connections, refrigerant lines, drainage systems, and ventilation components are all correctly connected. Otherwise, the HVAC system may operate in a way that’s unsafe or inefficient.
If applicable, your HVAC technician will also install accessories like a smart thermostat, whole-home humidifier, or air filtration system during this step.
Step 5: Testing and Commissioning the HVAC System
After the new HVAC system is installed, your technician will conduct a full system test to ensure everything is working properly. This includes checking thermostat calibration, verifying airflow, testing refrigerant levels, and measuring temperature differences between supply and return air.
The commissioning process involves verifying that all safety features are functioning and that the system meets local code requirements. If the new HVAC unit includes smart controls, the technician will walk you through how to use them and help you set initial temperature schedules.
This step acts as a final checklist of sorts, ensuring your technician has correctly completed your HVAC installation and that you, the homeowner, understand how to operate your new equipment. Once this step is complete, your home is officially ready to provide consistent, energy-efficient comfort for years to come.
How to Arrange HVAC Installation
Installing a new HVAC system is a multi-step process that involves careful planning, technical expertise, and attention to detail. By working with a qualified HVAC company that employs experienced and well-trained technicians, you can feel confident that your HVAC installation is handled with professionalism and care.
Not only will you enjoy better indoor comfort, but you’ll also benefit from improved energy efficiency, reduced maintenance costs, and greater peace of mind. The best way to get started is by contacting an HVAC company near you for a consultation and assessment.


